 (click for larger image)
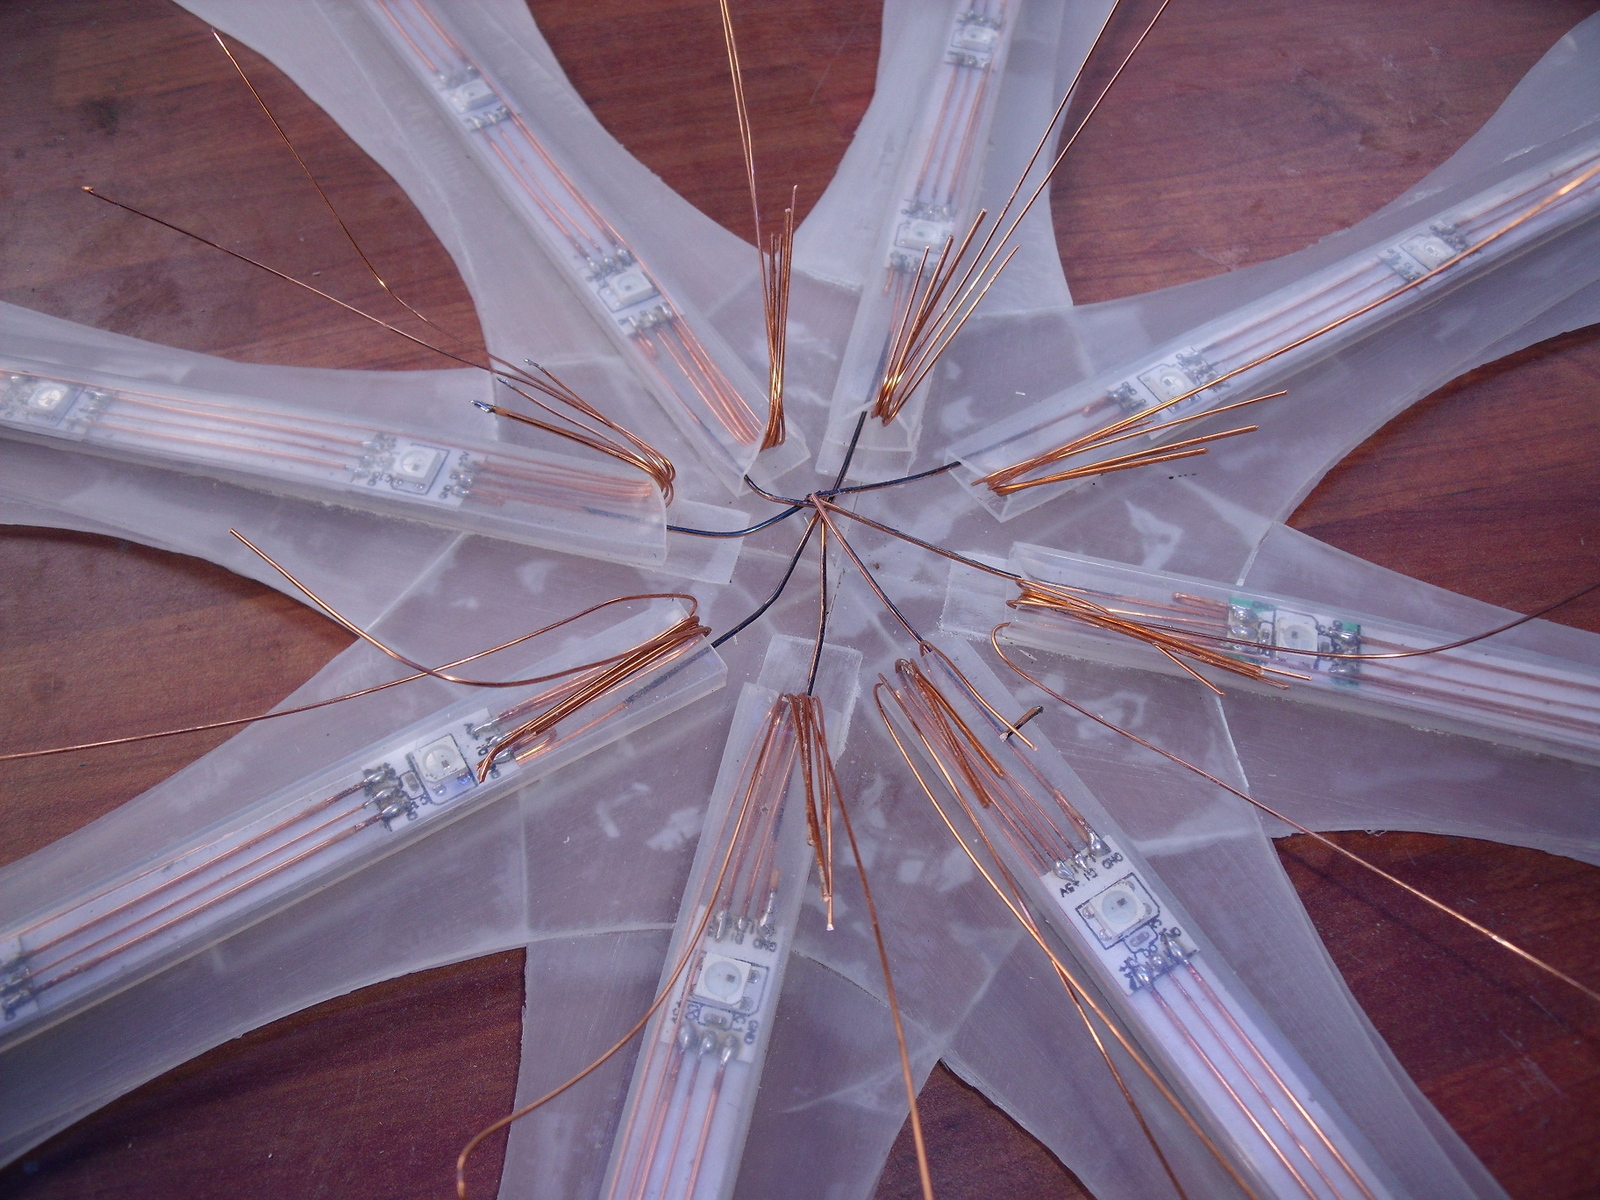 (click for larger image)
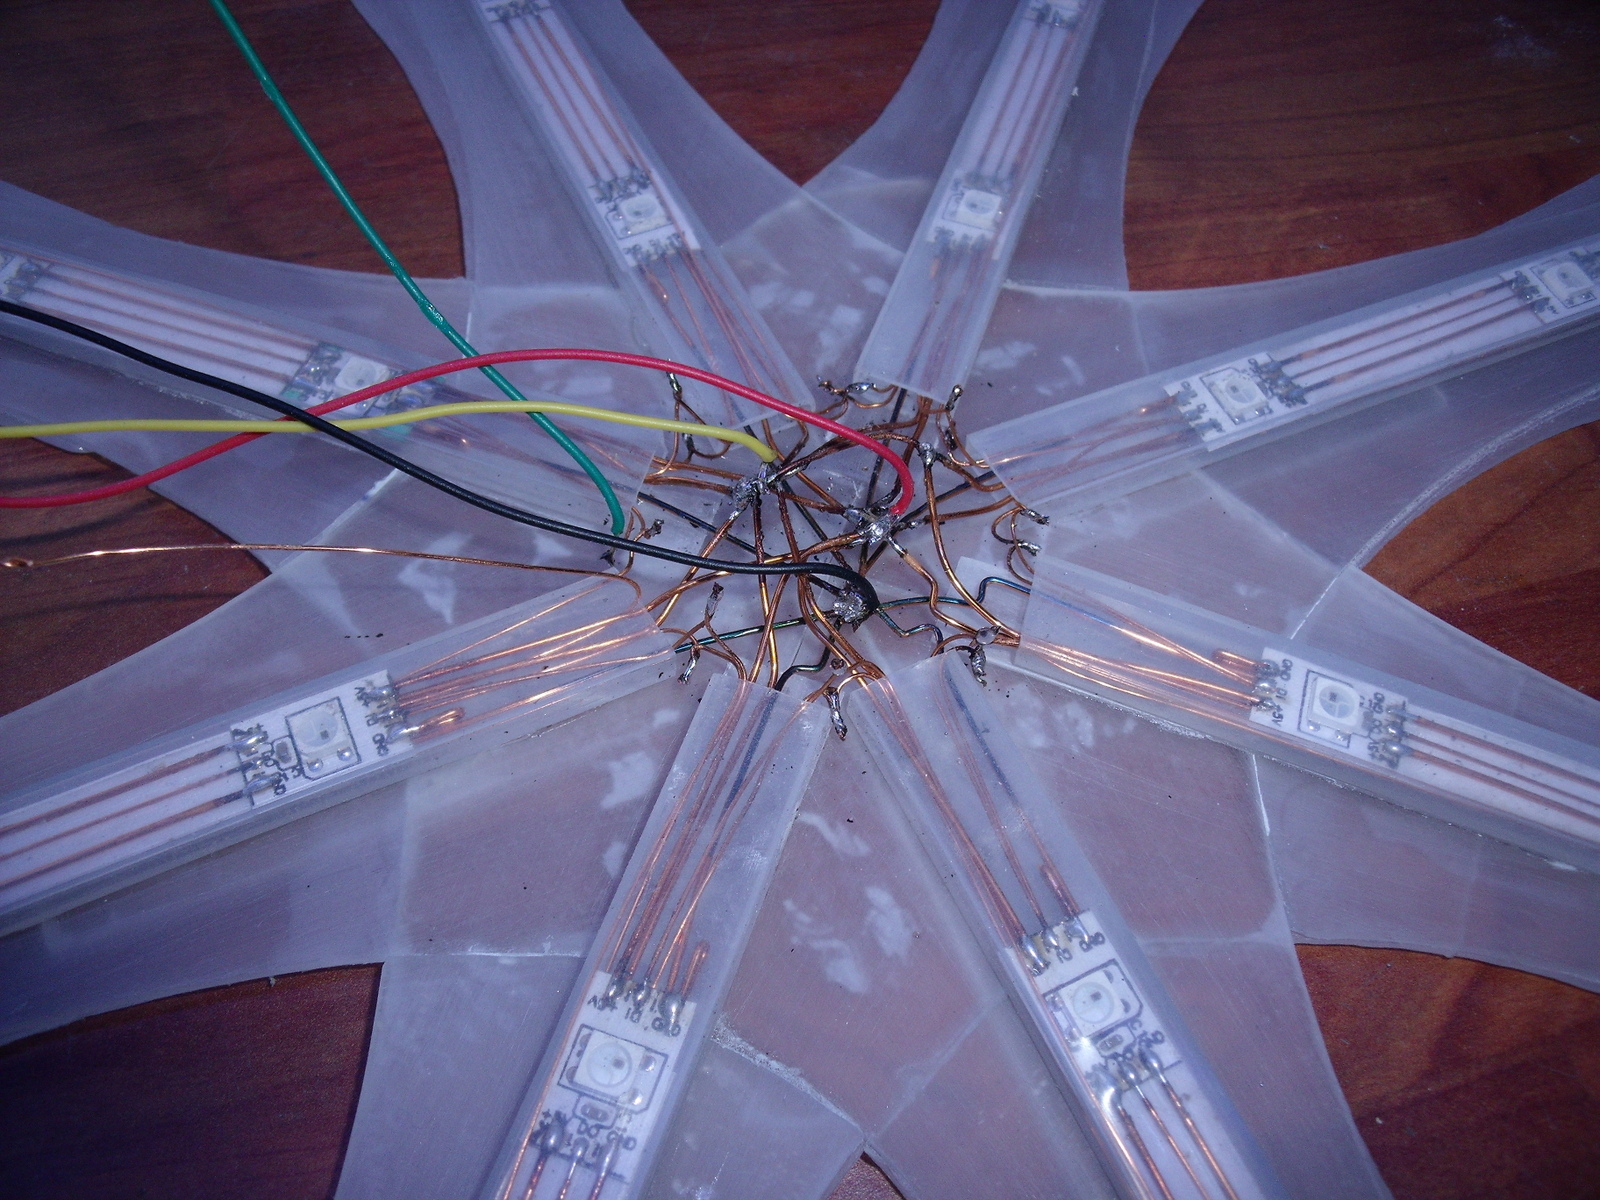 (click for larger image)
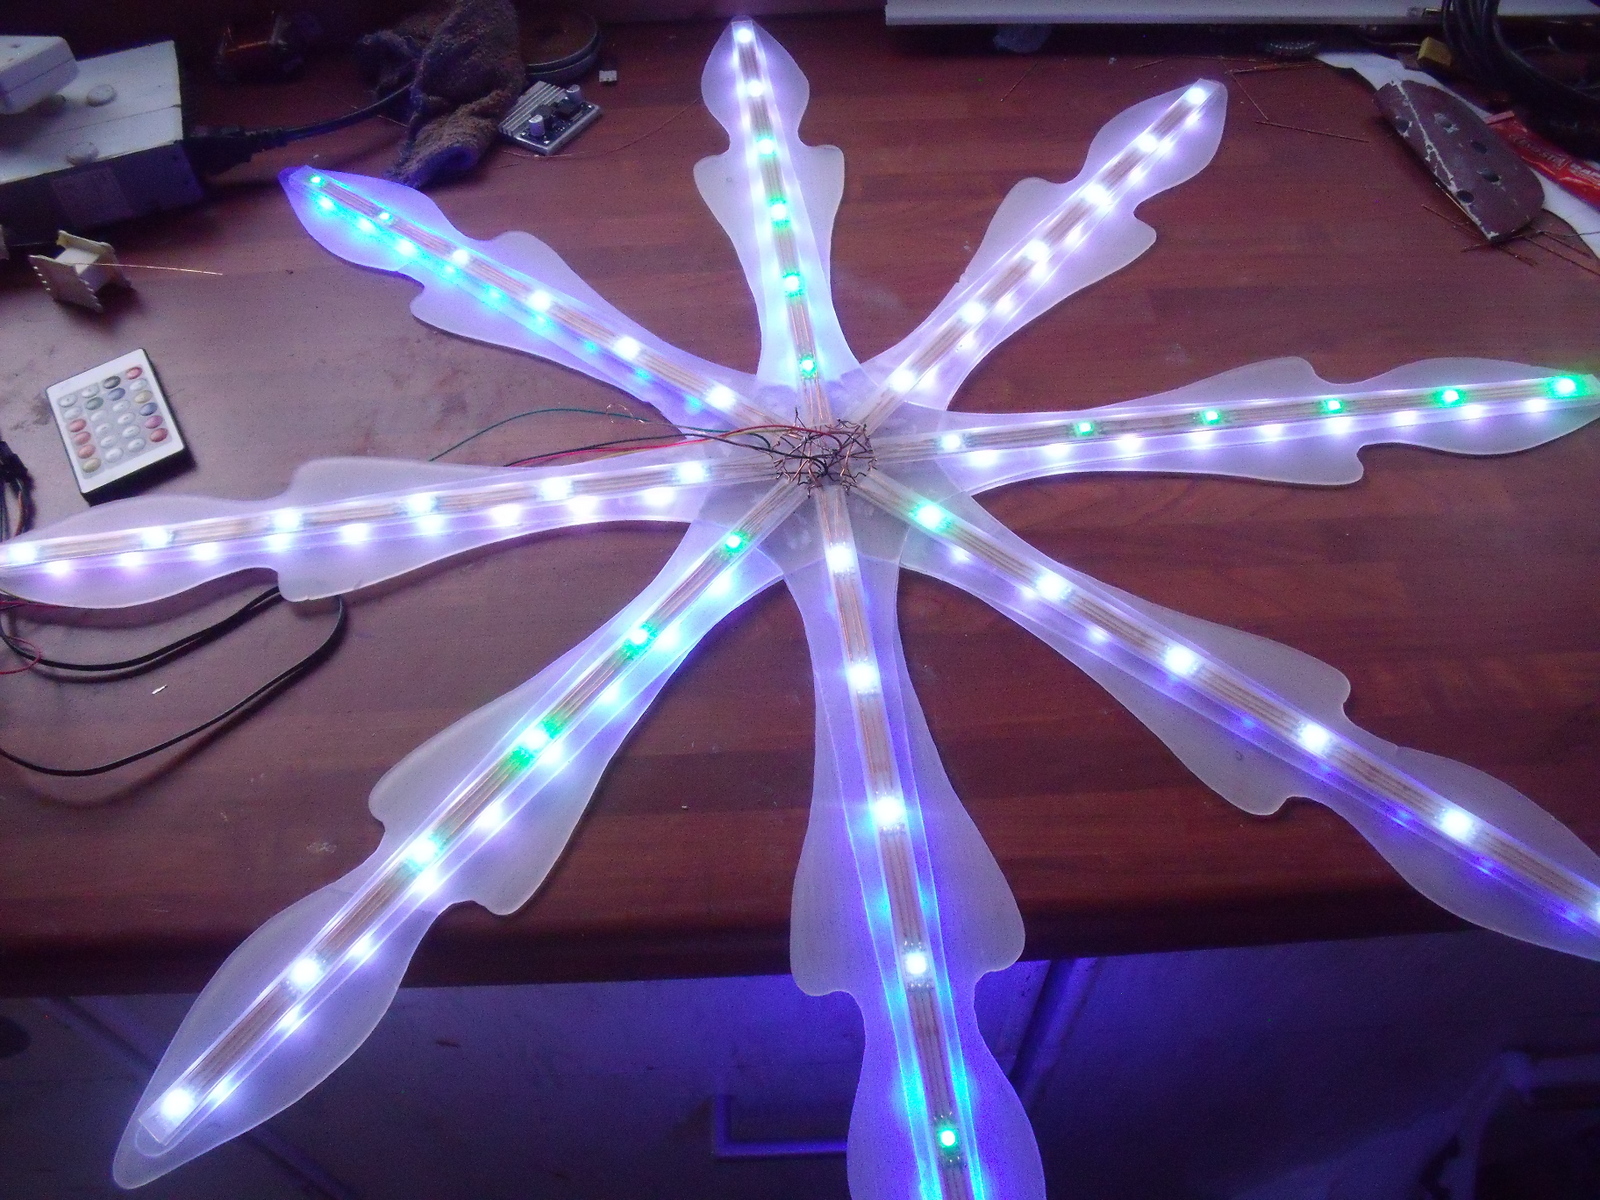 (click for larger image)
Pixel starburst Mk2
So the idea of this new starburst is to have it mounted on frosted perspex in a snowflake shape. Not too sure if this makes it a snowburst or a starflake! The front will be regular WS2812 individually controllable pixels just as on the starburst mark 1. However each spoke will have a strip of WS2811's on the reverse of the WS2812's lighting up the perspex.
Both sets of leds will fit into one square silicone tube. This tube will be stuck to the perspex with silicone sealant.
The only problem is that this element will require both 5v (for the WS2812's) and 12v (for the WS2811's) therefore I will use a buck converter so that only a 12v supply will be required.
The first image shows how the 16 pieces of perspex are glued together to form the snowflake.
Image 2 and 3 show all the wires and how they were connected together (the wires are enameled not bare copper!) . The rear leds (ws2811s) are connected first starting from the centre led of the top spoke running up and then continuing clockwise. They then continue to the front leds (ws2812s) again in a clockwise direction from the top spoke. The last ws2812 in the chain then connects to the main cable so that this element can be daisy chained to other display elements (I am connecting 3 starbursts to 1 universe).
The final image shows the (nearly) completed starflake lit-up. Once it has been ran for a few hours, all joints and tube ends will be sealed with silicone sealant.
Here is a small video of the starflake in action. I'm not totally impressed with the rear led diffusion but it's too late now.
Hindsight is a wonderful thing. If I had realised just how much time jigsawing 16 pieces of perspex would take, this element would never exist!
